In this guide, we will introduce another approach for installing the Magento application. Compared to the automated installation via Softculous Auto-Installer, Magento can be also manually installed with an installation archive file. We will walk you through the whole process, from downloading the installation files to setting up your store through the Magento Wizard.
The very first step we will need you to take is to download the files needed for the installation. You can do that from the official Magento Page. We would recommend you to download the latest available version unless you strickly require another one.

Once you access the page and you locate the desired version, please select the download format from the dropdown menu and click on the “Download” button. Please note that in order to download the files you will be required to log in to your existing Magento account or create a new one in case you do not have such. Once you initiate the download, please allow it a few moments to be successfully completed.
There are two methods you can follow in order to upload the installation files to your hosting account. You can directly upload the archive file from the “File manager” available under your cPanel account. Alternatively, you can upload it via FTP.
In order to upload the archive file, please log in to your cPanel account and click on the “File Manager” icon available under the “Files” section. Afterward, select the root directory where you desire your Magento store to be located. “Public_html” is the root directory of your primary domain name, therefore if you wish the installation to be performed directly under your domain name (i.e. https://yourdomain.com), please make sure to select it. Alternatively, if you would like to perform the installation under a subdirectory (i.e. https://yourdomain.com/onlinestore), please create the desired subdirectory.

Afterward, please click on the “Upload” button and you will be prompt with a new “File upload” screen. Please click on the “Select File” button and choose the archive file from your computer. Once the file is successfully uploaded you can click on the “Go back” button.
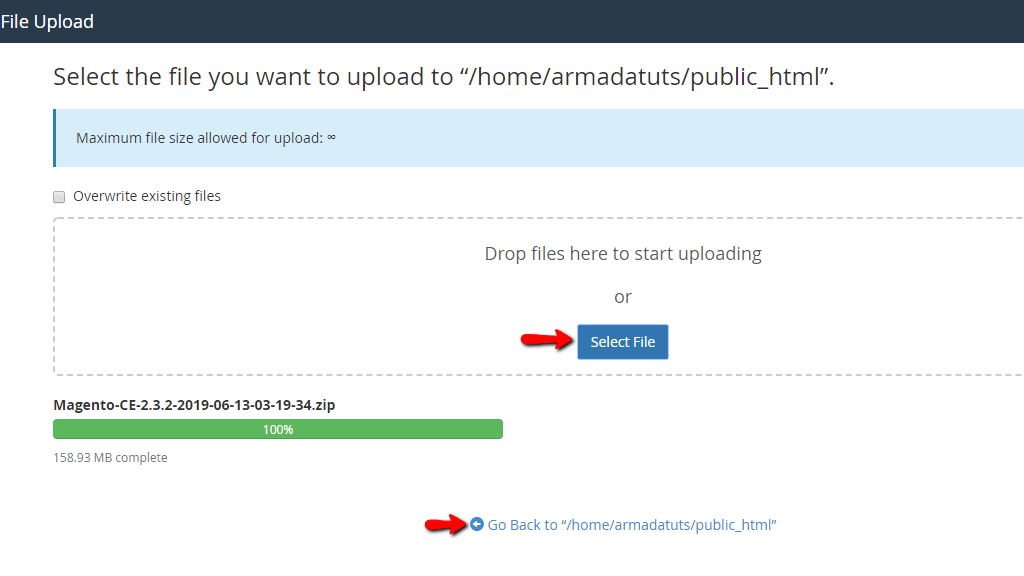
Now, please right-click on the archive file and select the “Extract” option.
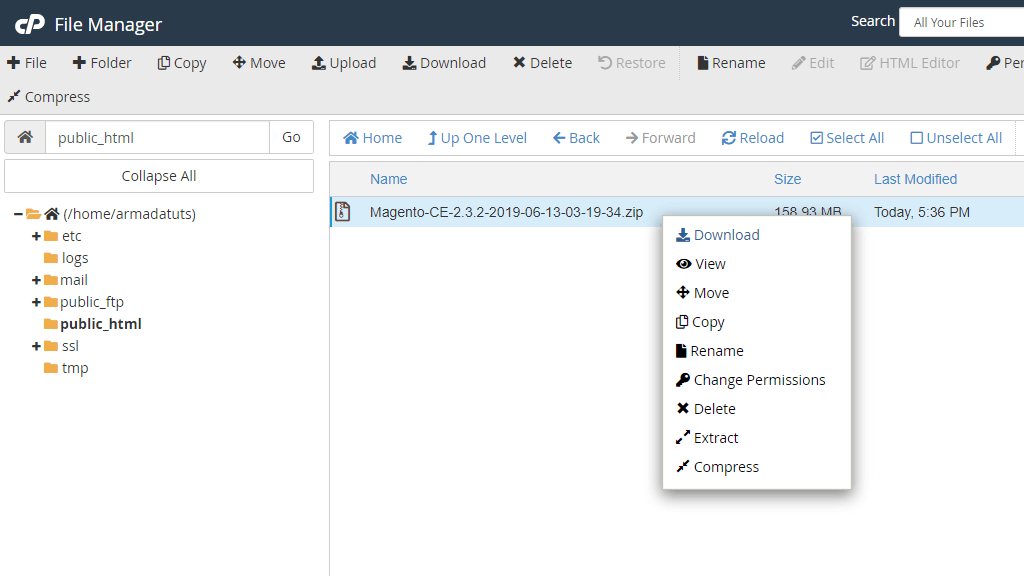
A popup window will be shown and you will have to confirm the directory where the files will be extracted and click on “Extract files”. Please allow a few moments for the process to be successfully completed and you will be all set to continue forward.
If you prefer using FTP, please connect your FTP client to your hosting account. As soon as you perform a successful connection, your FTP client will present the file structure of your local machine and the one for your web hosting account.
From the file structure on your right, please select the root folder where you desire Magento to be installed.
From the folders of your local computer, please navigate to the location where you have saved the installation archive. Once you locate the file right-click on it and choose the “Upload” option.
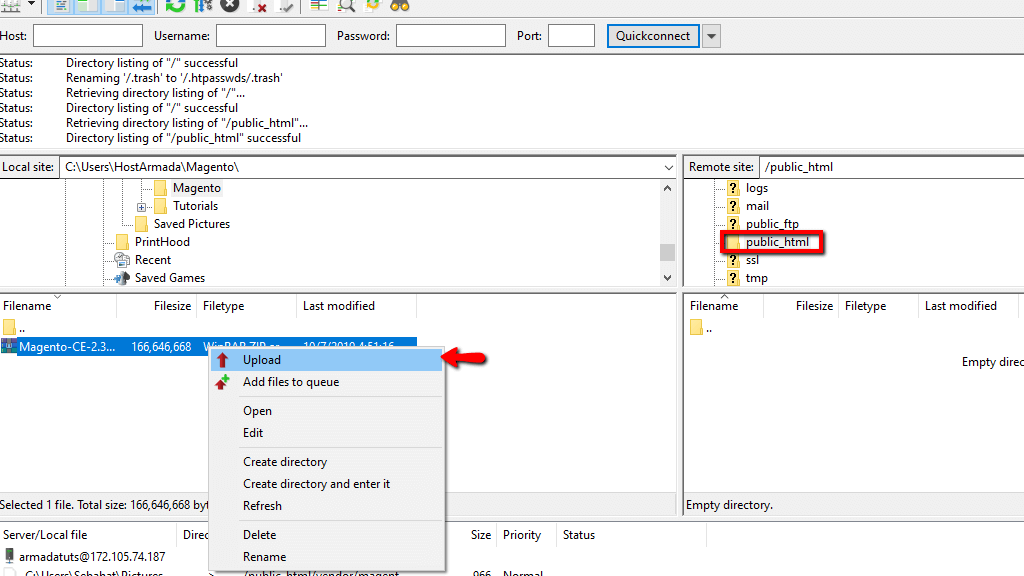
After the upload process is successfully initiated, please allow it with a few moments in order to successfully finish. Once completed, please log in to your cPanel account and follow the above-described steps for the file extraction. When you extract the files from the archive, you are all set to move forward.
Once the files are uploaded, you will need to create your new database. This could be done within a few clicks from your cPanel account. After you log in, please navigate to the “Databases” section where you will locate “MySQL Database Wizard”.

Once selected you will be presented with a new page where you will need to specify the database details.
In the first step, you will be required to define the name of the database.

In the second step, you will have to create your Database user. Please enter your database username and password in the corresponding fields. Please keep the database name, the database username and the database password on a file since you will need those in the next step when setting up the Magento application.

In the last step, you will have to decide the privileges you would like to grant to that user. You can manually select the privileges by ticking the checkboxes or click on the “All Privileges” checkbox in order to select all privileges.

Once you are ready just click on the “Next Step” button and you will be all set.

Now your database is created and you are ready to continue further with the installation of Magento.
The next step you will need to take in order to proceed with the installation is to access your Magento store’s web address (i.e. https://yourdomain.com) from your Web browser. Once you access the page you will be prompt with the Magento Setup Wizard.
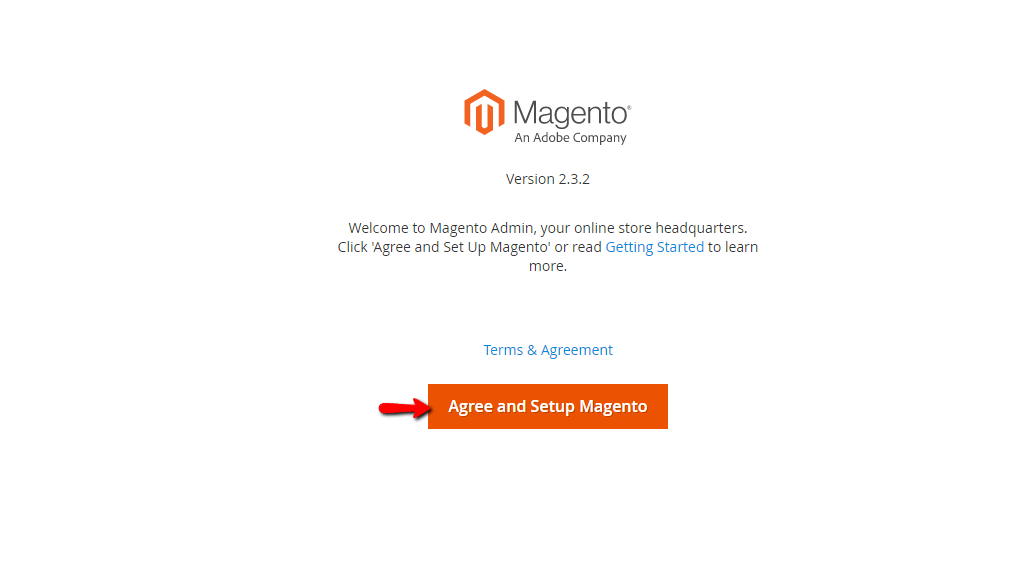
First, you will have to agree to Magento’s Term by clicking on the “Agree and Setup Magento” button.
Next, you will have to click on the “Start Readiness Check” button which will initiate a check on your hosting account environment to confirm its compatibility with Magento’s requirements.

Once the check is successfully completed, please click on the “Next” button.

Next, you will have to enter the details for the database you have just created.

Please, leave the “Database Server Host” “localhost” unless the database in question is stored on a remote server. Enter the database username, passwords, and name. The “Table prefix” is optional so you can leave it blank.
Next, you will have to specify your Magento Admin Area URL. You will be presented with an autogenerated unique and secure URL - if you do not find this URL convenient to use you can always change it up to your preferences.

When you are ready, please hit “Next”.
On the following step, you will have to select your store’s default time zone, currency, and language from the corresponding dropdown menus.
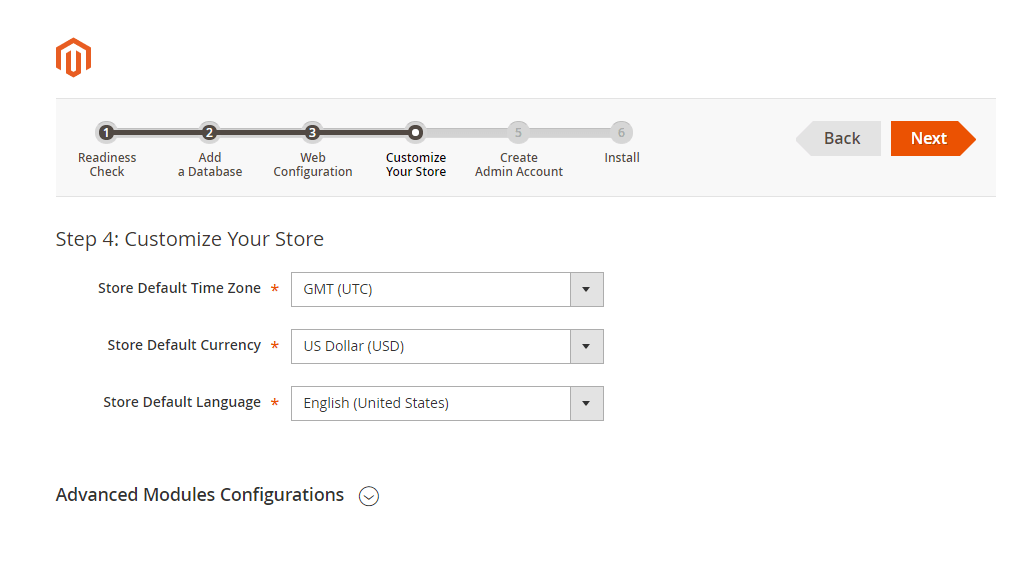
Once ready - click on the “Next” button.
Finally, you will need to specify the credentials for your Magento Admin account. Please enter your admin username, admin email, and password.
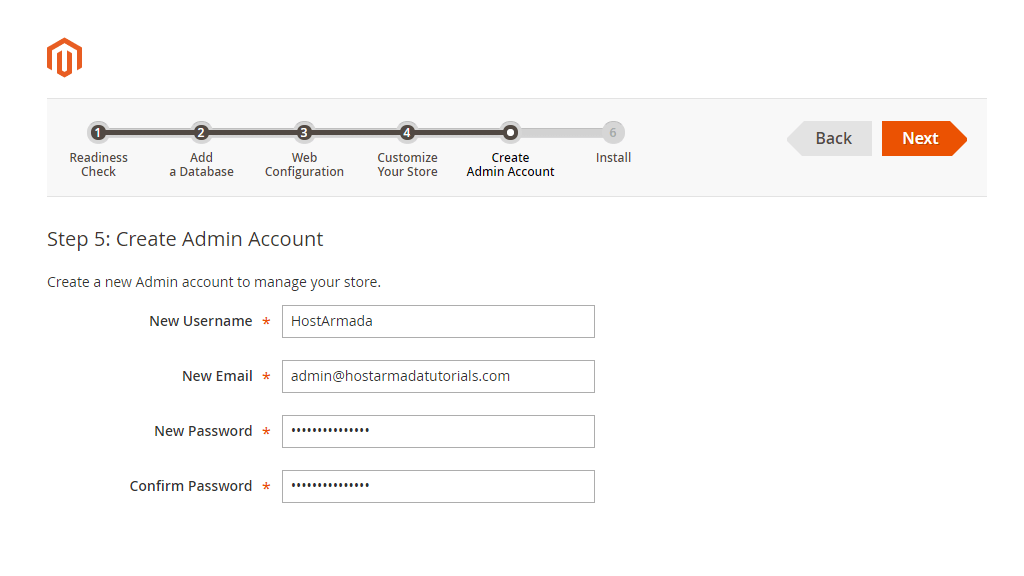
Please, hit “Next”, then “Install Now” and allow few moments for the installation process to be completed.
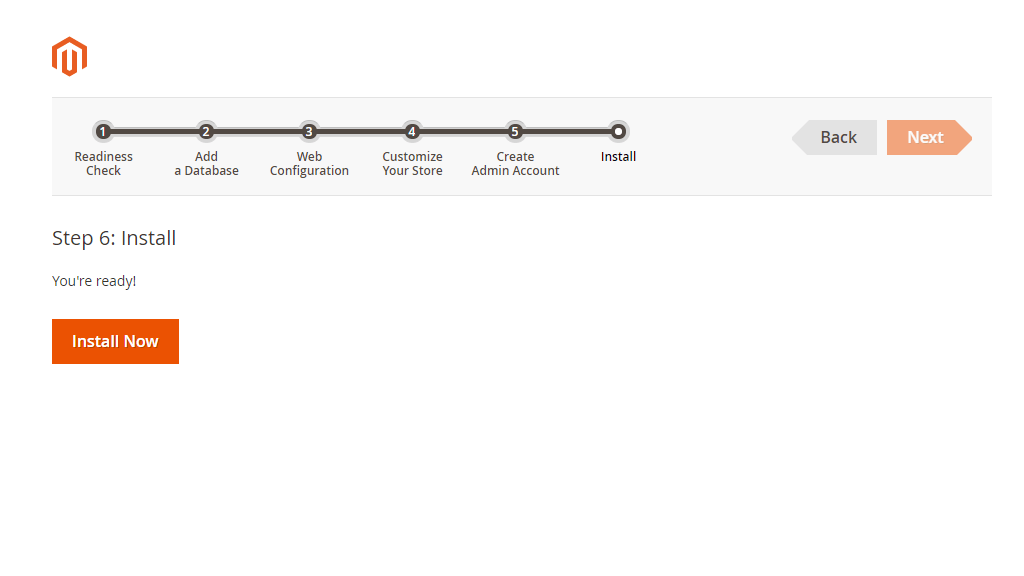
Voila! You have your new Magento successfully installed.

Congratulations! You have your new Online Store successfully set up and you are ready to start customizing it. We hope you have found our instructions well explained and easy to follow. In case you have experienced any difficulties you can always contact our Support Team and ask for further guidance.

Sebahat is a young and bright woman who has become an invaluable part of our team. She started as a Customer Care Representative, mastering that role and, along the way, growing into a tech-savvy individual who is well acquainted with every support layer of the company. Driven by her aim to improve our customers’ experience constantly, she is committed to enhancing the extraordinary support we deliver.