
Plugins are components that adds specific functionality to an existing software product. This statement is no different in the context of the WordPress platform. Like most CMSs, WordPress comes with various core features that will provide all the functionalities you will need to develop a simple website. Anyhow, in most cases, you will get to a point where you might want to include more complex functionalities or features to your website. Here comes the role of plugins. They allow you to extend the functionality of your website by implementing specific features to it.
Thanks to the huge WordPress community, there are over 56,500 free and commercial plugins to choose from and integrate the functionality you are after.
In this tutorial, we are going to step-by-step guide you on how to install a new plugin on your WordPress based website.
For a start, please log into your WordPress Admin Dashboard. You can do that by accessing your domain followed by "/wp-admin", i.e., "yourdomain.com/wp-admin", where "yourdomain.com" stands for your actual domain name.
Once logged, please navigate through the left-hand side menu bar to Plugins > Add New.

When you click on the „Add New“ option, you will be redirected to a new page where you will be able to initiate the plugin installation process.
There are two general methods for installing WordPress Plugins, and we will review both of them so you can decide on your own, which one seems more convenient. They are both extremely straightforward and simple to follow. Therefore, we strongly believe you will manage to keep up with each of them.
The first method is to locate the desired Plugin directly within the WordPress Administrative Dashboard and proceed with the automatic installation. Note that this method is typically intended for Free WordPress Plugins.
The second method is to download the Plugin installation archive either from the official WordPress Plugin Directory or from another third-party source and upload it through your WordPress Administrative Dashboard.
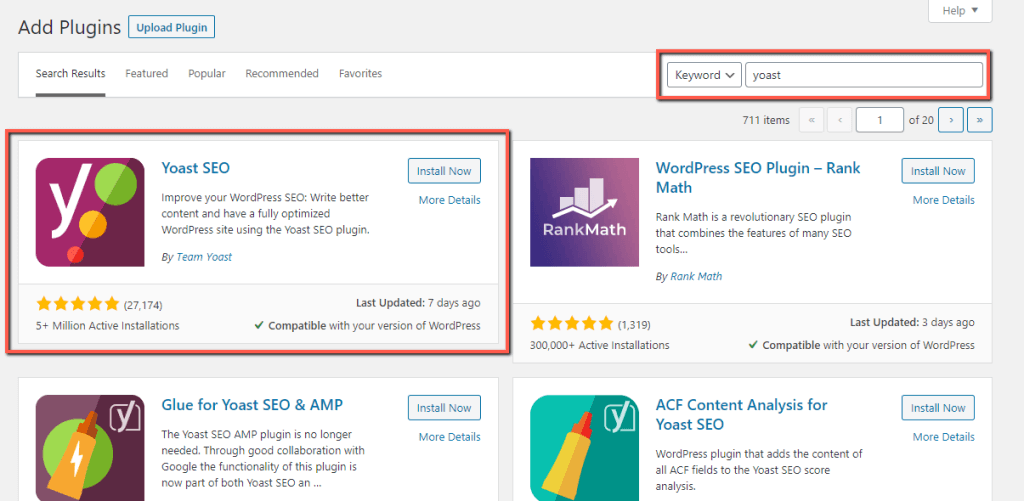
To install the Plugin straight from the „Add Plugins“ page, you have to first locate the desired Plugin. You can do that by browsing the available Plugins based on the available categories located at the top of the page - "Featured", "Popular", "Recommended", or "Favorites".
Alternatively, you can use the Search tool positioned at the right upper corner of the page. There you will see a dropdown menu, which can help you systemize your search based on:

Once you enter the keyword in the search box, WordPress will display all plugins relevant to your search criteria. Once you find the Plugin you are searching for, just click the “Install Now” button.
Upon doing that, the installation will be initiated. Please allow it a few moments to be successfully completed. Once done, the "Install Now" button will be converted to "Activate". Your last step is to click on it in order to enable the Plugin and get it ready for use.
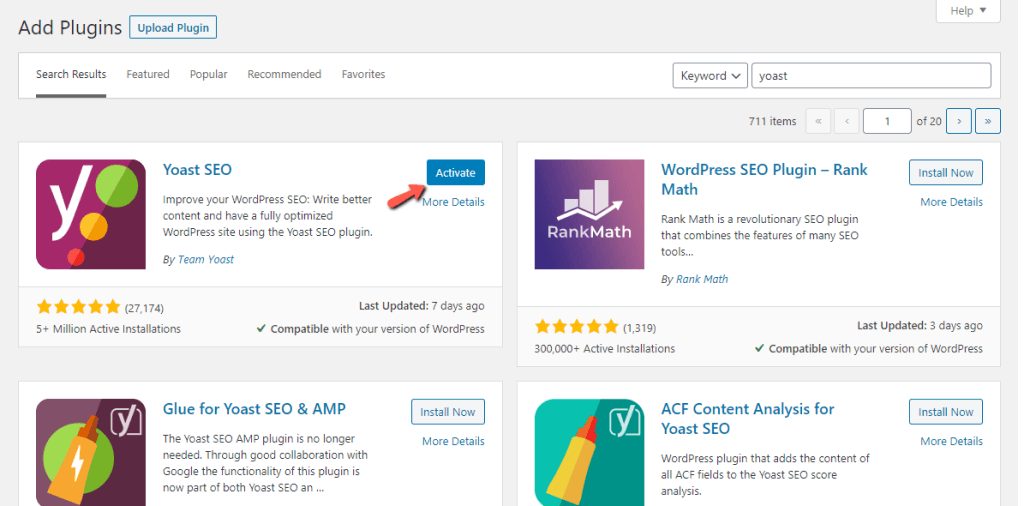
Once the Plugin is activated, you will be redirected to the "Installed Plugins" section, and you will be ready to start utilizing it.
As we previously pointed out, this method is intended for installing Plugins downloaded either from the official WordPress Plugin Directory or from a third-party source.
At this point, we assume you have already downloaded the required installation archive. If that has not been done yet, please go ahead and do so.
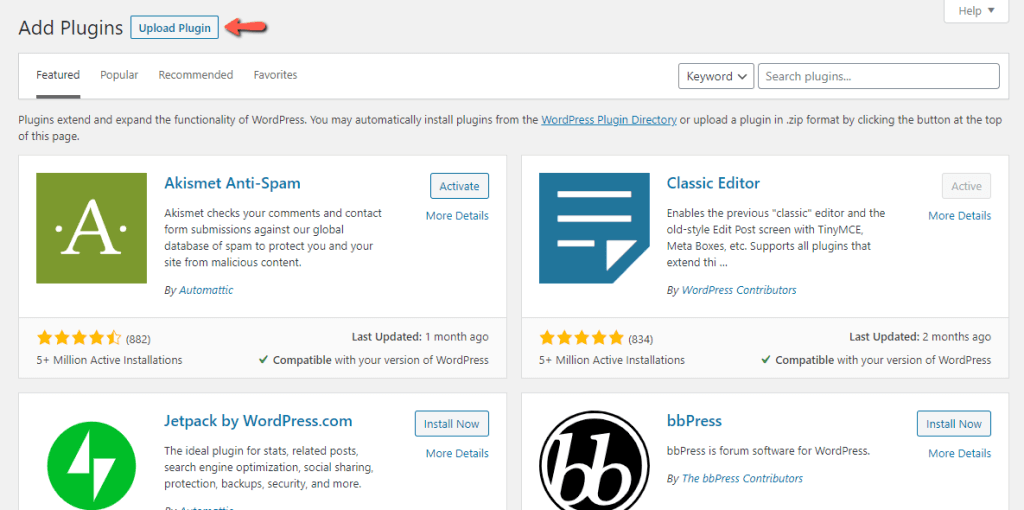
Once you have the archive file on your local computer, please click on the "Upload Plugin" button located at the top of the Plugin installation page.
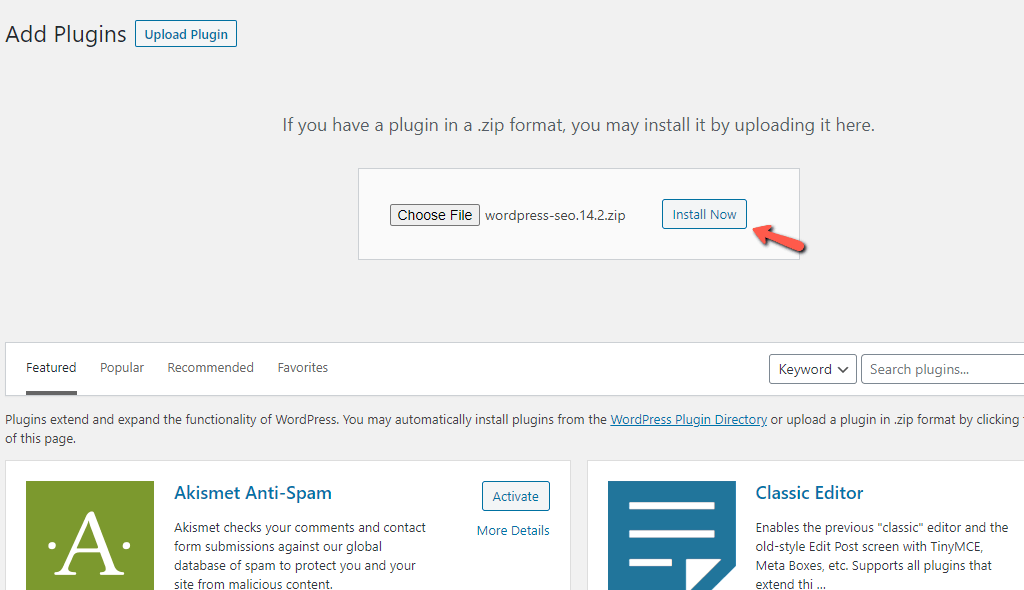
Afterward, you will be presented with a new panel where you have to upload the required archive. To do that, please click on the "Choose file" button, browse through your local computer files, and locate the archive.
Once the upload process is completed, please click on the "Install Now" button to initiate the installation.
When the installation is completed you will be presented with an "Activate Plugin" button. Similarly to the previous example, you have to click on it to fully enable the Plugin.

Once again, you will be redirected to the list of installed Plugins on your website, and you will be able to start using the new one.
Congratulations! Now you know what a plugin is and how to install one. As we have promised, the process is quite simple. We hope you have managed to successfully install and activate the desired Plugin following our instructions. In case you have experienced some sort of difficulties, please make sure to submit a ticket request to our Technical Support Team. They will be glad to proceed with the installation on your behalf.

Sebahat is a young and bright woman who has become an invaluable part of our team. She started as a Customer Care Representative, mastering that role and, along the way, growing into a tech-savvy individual who is well acquainted with every support layer of the company. Driven by her aim to improve our customers’ experience constantly, she is committed to enhancing the extraordinary support we deliver.
Learn more about Wordpress in the other tutorials that we have:
